What Every Builder Should Know About New Construction Solar Prep
Solar integration in new construction reduces installation costs, according to a recent study by the National Renewable Energy Laboratory (NREL). The prices of home solar energy systems have decreased faster in the last few years, and this downward trend continues to benefit builders and homeowners alike. Research shows that solar-equipped homes sell for more than similar properties without panels, which can add tens of thousands of dollars to a property’s market value.
American households powered by solar energy will reach 12% by 2035, making solar readiness crucial for construction professionals. This piece explores a solar-ready roof’s requirements, the differences between solar-ready and standard electrical panels, and the financial benefits of incorporating solar-ready electrical panel features early. Builders will find detailed information about architectural planning and electrical system preparation to keep up with this growing trend.
Understanding Solar-Ready Construction
Solar-ready construction takes a smart approach to building design that makes future solar photovoltaic (PV) system installation easier. These homes have the basic setup ready, which saves money and hassle compared to expensive updates later.
What is a solar-ready roof?
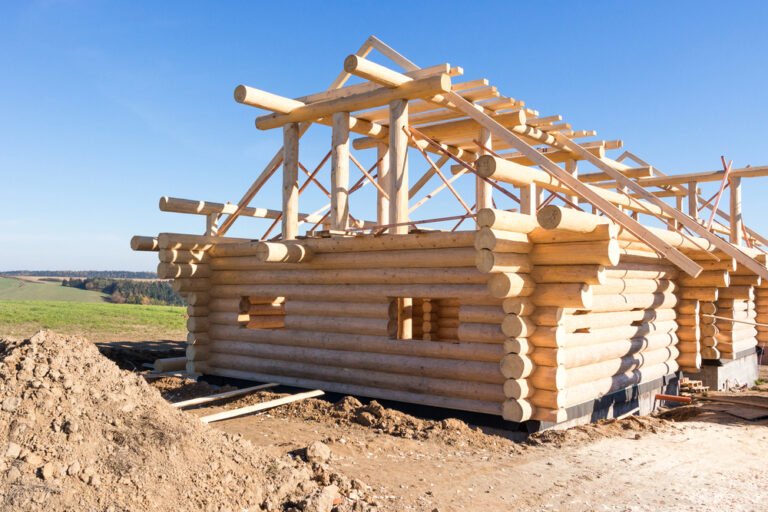
A solar-ready roof comes with design features that make adding solar panels simple in the future. The roof already has everything needed to support solar equipment. This setup needs proper structural support to handle solar panels’ weight—usually between three and six pounds per square foot.
The ideal solar-ready roof features:
- South-facing orientation with a 30-45 degree pitch to get maximum sun
- Minimal obstructions like vents and chimneys, grouped near the ridge
- Pre-installed conduit pathways from the roof to the electrical panel
- Reinforced roof structure to support panel weight
- Reserved roof space (typically 300+ square feet) without shade
Solar-ready roofs usually have mounting points built in during construction. This helps prevent roof damage when installing panels later.
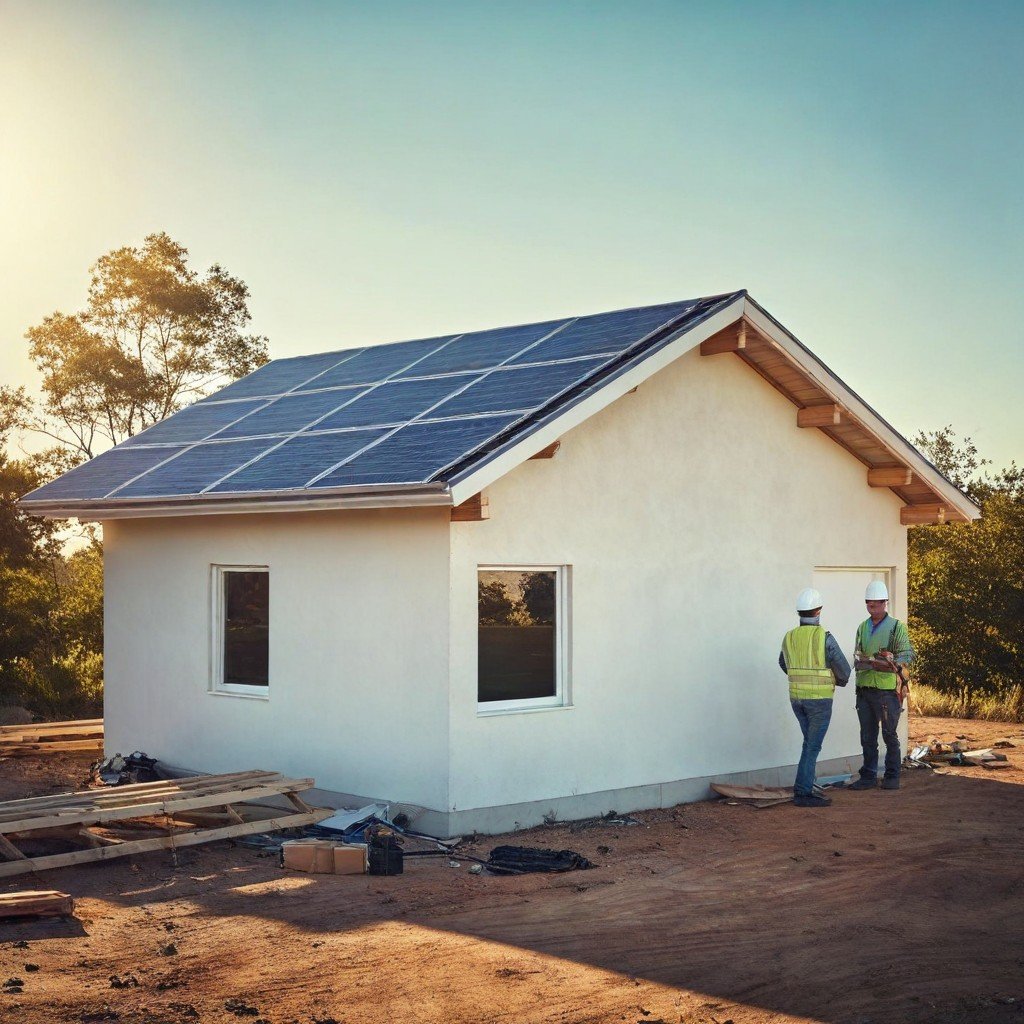
Solar-ready vs. solar-installed: key differences
Time makes the main difference here. Solar-ready homes have all the same parts and design features as homes with solar panels—except for the actual panels. Everything’s ready for future installation, but the complete system isn’t there yet.
Fully installed systems start saving energy right away. Solar-ready homes give you more options. Homeowners who aren’t ready to invest can add solar later without getting pricey structural changes or electrical upgrades.
Why builders should care about solar prep
Adding solar-ready features during construction saves money. NREL modeling shows these measures cost 60% less when done during construction versus after. Homeowners save big money down the road.
Solar-ready homes attract environmentally conscious buyers and often sell for more. Many communities now have strict energy codes—some already require solar-ready design in their building rules. Builders who add these features now remain competitive.
Solar-ready options give clients more choices and show you’re thinking ahead. Even with a few qualified solar installers nearby, building solar-ready homes creates opportunities for homeowners and might expand your market.
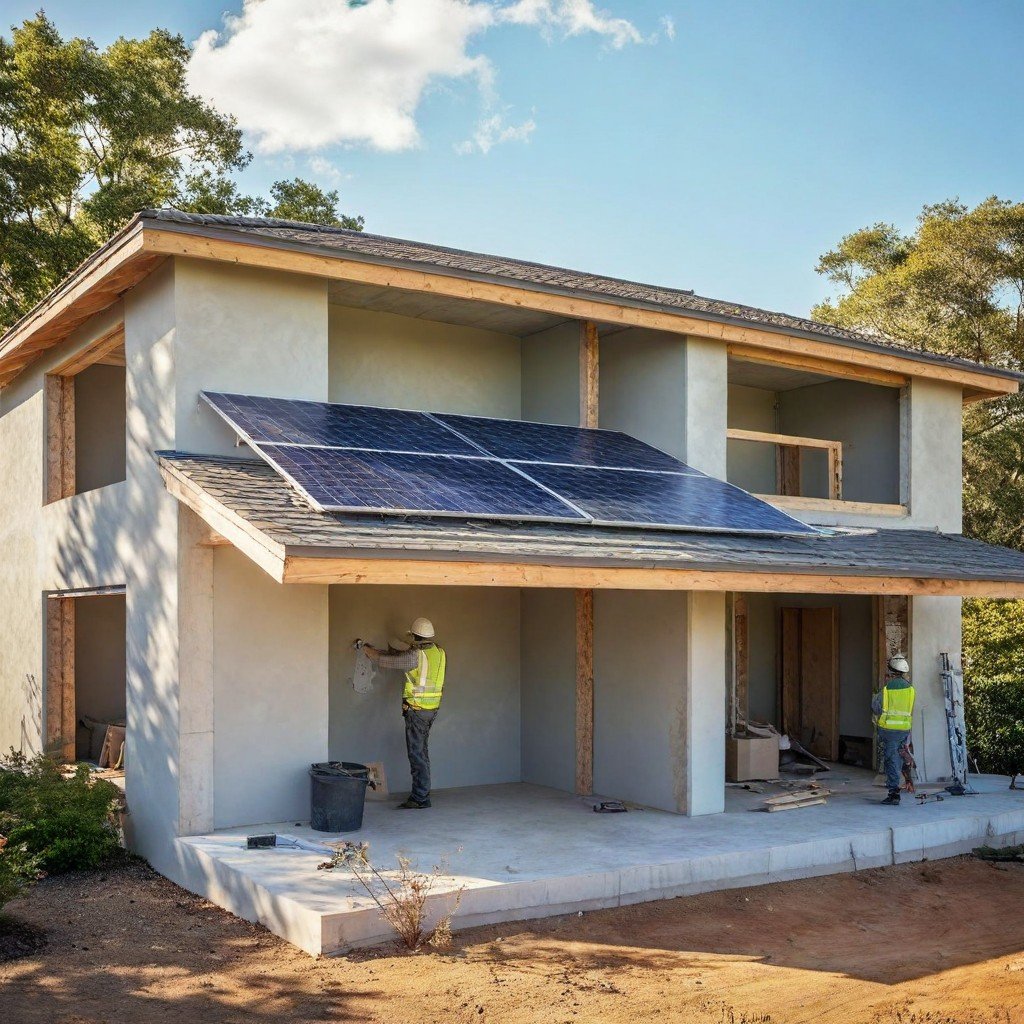
Architectural Planning for Solar Integration
Successful solar integration starts with proper architectural planning. Architectural decisions made at the time of early construction can affect future installation costs and system performance a lot.
Roof orientation and slope considerations
Your geographic latitude typically equals the optimal angle for solar panels, though anywhere between 15 and 40 degrees works well in most locations. South-facing roof sections capture the most sunlight throughout the day in North America. Any direction between southeast and southwest will be highly productive. East-west orientations lose only about 10-15% efficiency compared to ideal south-facing installations.
Avoiding obstructions and shading
Nearby buildings, trees, or roof elements can reduce solar panel efficiency by a lot. You should cluster roof equipment like vent pipes, skylights, and chimneys on the north-facing roof section. Flat roofs need thoughtful HVAC equipment placement. Note that even small amounts of shade can affect overall system performance disproportionately.
Designing for future panel layout
Solar installation works best on a simple rectangular roof area with fewer hips and valleys. Reserve approximately 300+ square feet of unobstructed space on south-facing sections. You should leave about 10% of the roof empty to access maintenance and comply with local fire safety requirements. These requirements typically mandate 4-foot perimeters around roof edges.
Material compatibility and roof warranty concerns
Your roof system’s expected lifespan should match or exceed the 25-year life expectancy of solar arrays. Proper solar mounting systems need compatible roofing materials. Asphalt shingles work well with most mounting systems. Tile or slate roofs might need specialized solutions.
Solar panel installation won’t void roof warranties if it follows the manufacturer’s specifications. Notwithstanding that, warranty documents need careful review. Make sure your solar installer has proper certification and insurance.
Structural and Load-Bearing Requirements
The roof’s ability to hold solar panels is crucial but often gets overlooked when planning new construction solar projects. A thorough check of the structure should happen before installation to avoid fixes that can get pricey later.
Assessing roof load capacity
Roof load capacity shows how much weight your roof can safely hold per square foot. This measurement accounts for dead loads (permanent weight from roofing materials and fixtures) and live loads (temporary weight from people, snow, or wind). Building codes need a minimum live load capacity of 20 pounds per square foot. A structural engineer should assess if your roof can handle the extra weight of solar panels. This becomes even more important for older buildings or those with damage.
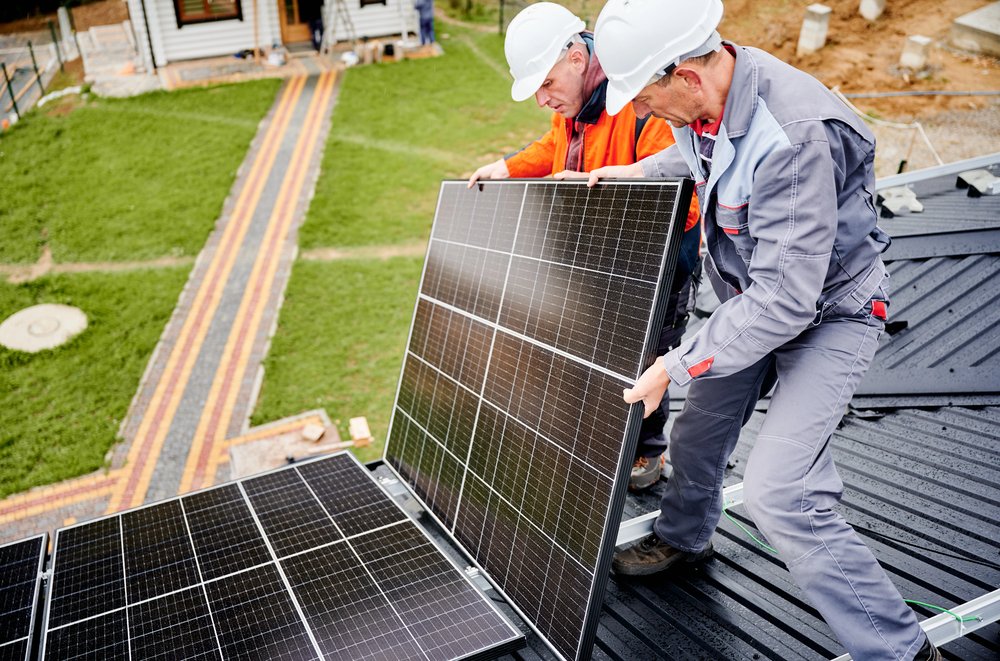
Ballasted vs. mechanically fastened systems
You’ll need to pick between two main ways to mount solar panels:
- Ballasted systems use concrete blocks to keep panels in place without making holes in the roof. People like these systems because they don’t pierce the roof. But they add a lot of weight and might void warranties if not installed correctly.
- Mechanically fastened systems connect directly to the roof’s structure. These systems need roof penetrations, but spread weight more evenly and make roof maintenance easier. They weigh less and protect better against wind and earthquakes.
Height, slope, and seismic considerations
Your roof’s slope makes a big difference in installation options. Ballasted systems work only on roofs with slopes less than 2.4°. Extra anchoring becomes necessary in earthquake-prone areas, no matter which mounting method you choose. The ASCE 7-16 standard requires low-profile systems to keep their center of mass within 3 feet above the roof surface.
Using the Levelized Cost of Energy (LCOE) calculator
The LCOE calculator helps you learn the true value of your solar investment. It looks at capital costs, operations, maintenance, and system performance. You can compare different technologies and make smart choices about your solar setup with this tool.
Electrical System Preparation for Solar
A solar-ready home’s foundation rests on its electrical infrastructure. Good electrical preparation makes future solar installation easier and cuts down modification costs by a lot.
What is a solar-ready main panel?
A solar-ready main panel makes connecting photovoltaic systems simple without major modifications. These panels pack more power (200-225 amps) than standard ones and have dedicated breaker spaces for solar input. Their pre-configured bus bars work perfectly with solar systems and can save homeowners thousands in future upgrades.
Installing conduit from the roof to the panel
New construction projects need at least one 1.5-inch metal conduit running from the electrical room to the attic. The conduit should be metal, rigid PVC, liquid-tight flex, or metallic tubing – preferably in a straight line. The conduit end should stick out above the attic insulation with a pull string ready for future wiring. This simple preparation can save homeowners hundreds or even thousands of dollars during solar installation.
Space planning for inverters and disconnects
Solar equipment needs a dedicated 4ft × 4ft area close to the electrical service panel. This space holds balance-of-system components like inverters, meters, and disconnects. The mounting surface should be finished plywood attached to wall studs, centered 4.5 feet above floor level. The ideal location stays away from direct sunlight and heat. The equipment should not share walls with living areas since inverter noise can be disruptive.
Labeling and reserving breaker space
National Electrical Code rules require specific labels for solar-ready systems. Every interconnection point, disconnect, and reserved breaker space needs clear identification. Distribution equipment next to back-fed inverter breakers must have permanent warning labels. These labels need reflective surfaces with black text on a yellow background. The titles should use capital letters at least 3/8 inch tall.
Grounding and lightning protection
Lightning protection depends on proper grounding. The setup needs one or more 8-foot-long, 5/8-inch copper-plated ground rods placed in moist earth. Multiple rods should be at least 6 feet apart. All metal parts and electrical boxes should connect without sharp bends in ground wires. Longer wire runs over 100 feet need surge protection devices (SPDs) at both ends.
SCADA and monitoring system integration
SCADA systems help operators track and control photovoltaic system performance. Utility companies usually want SCADA integration for systems above 500 kilowatts. These systems collect data from various components like inverters, solar array trackers, combiner boxes, weather stations, and battery systems. Smart reporting helps teams spot problems quickly and handle maintenance better.
Conclusion
Building solar-ready homes gives builders a competitive edge in today’s evolving housing market. In this piece, we’ve seen how good planning during construction helps homeowners save money compared to updating existing structures. So, a small upfront investment to prepare for solar leads to impressive returns through higher property values and energy savings.
Solar readiness depends on three things: optimal roof design, stronger structure, and prepared electrical systems. These elements work together to create a base for future green energy. Builders who become skilled at these elements are pioneering sustainable building methods. On top of that, clients value homes built ready for solar, even if they don’t add panels right away.
Building codes will, without doubt, move toward required solar readiness as communities push for clean energy. Builders who gain expertise now will stay ahead when these changes become systemic. Solar-ready construction makes both business sense and shows responsible building practices.
Note thata good solar setup starts with smart design choices. Roofs facing south, clear surfaces, and proper support make future installations affordable. The right electrical prep, from conduit setup to panel layout, saves costly updates down the road.
The building industry faces a turning point as renewable energy shifts from luxury to necessity. Smart builders who adopt solar-ready methods today will benefit for years. The future of construction depends on green, flexible designs that serve homeowners’ needs in our changing digital world.