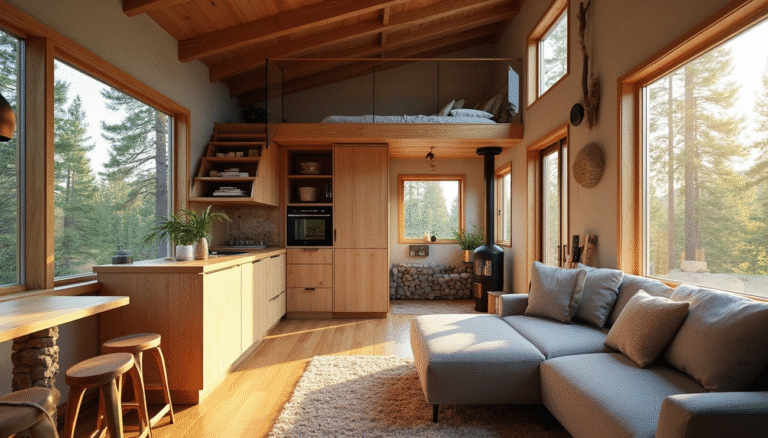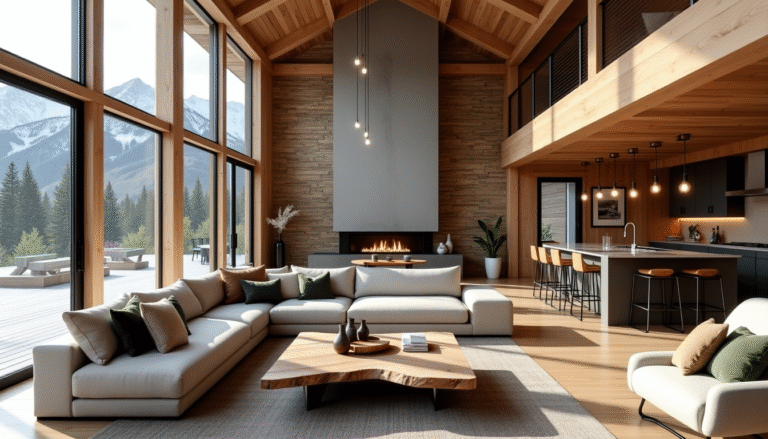
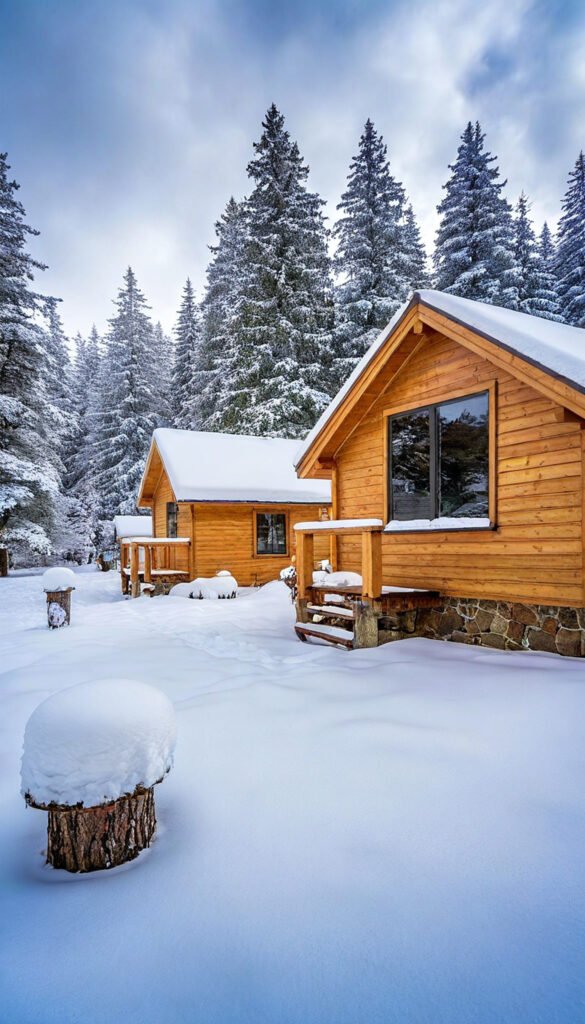
Winterizing a Cottage Made Simple: Essential Steps to Protect Your Investment
A single foot of fresh snow sitting on your cottage roof weighs around 6,240 pounds – as much as a heavy pickup truck. Your cottage needs more than just seasonal maintenance – it needs protection to preserve your valuable investment from the harsh winter elements.
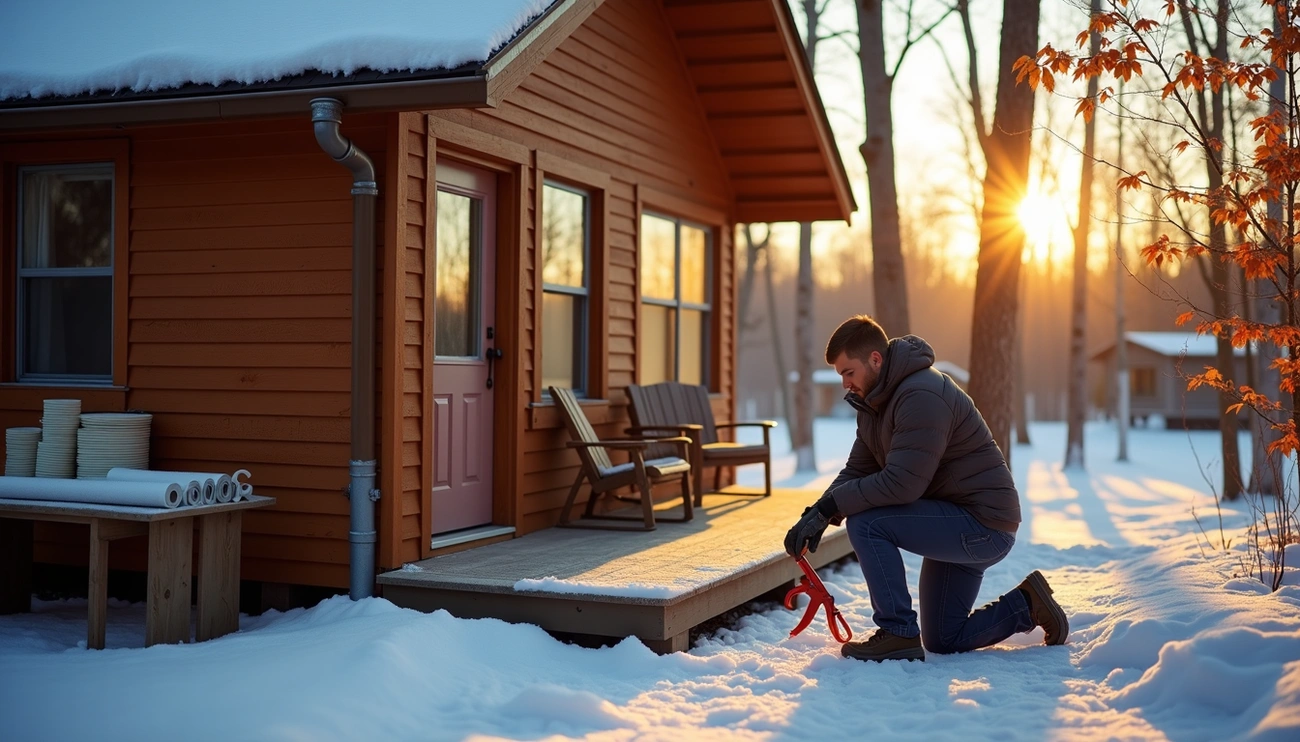
Proper preparation of seasonal homes at the time of winter can cut heating and cooling expenses by 15% on average. The process to winterize a cottage requires careful attention, especially for the water system. Skipping these safety measures could lead to burst pipes, flooding damage, and unnecessary power bills. The small cost to winterize your cottage pales in comparison to expensive winter repairs.
Let me walk you through the steps to winterize your summer cottage in this piece. We’ll cover everything from exterior prep and structural safeguards to managing water systems and final security measures. You might want to get professional help if you’re new to winterizing plumbing. This detailed guide will give you all the information you need to keep your retreat safe until spring comes around.
Inspect and Prepare the Exterior
Your cottage’s exterior serves as its shield against harsh winter elements. Good preparation protects your investment and makes spring reopening easier.
Clean up landscaping and remove debris
Rake and remove leaves within at least 30 feet of your cottage. This basic task helps prevent water damage and reduces fire risks. Wet leaves can create perfect conditions for mold and pests that might enter your cottage. On top of that, burlap covers protect landscaping greenery from harsh wind, snow, and ice.
Trim trees and bushes to prevent damage
Snow and ice can make overhanging branches break and damage your roof or windows. You should cut back any branches directly over your cottage. Taking care of this now is better than dealing with a damaged roof or broken windows in winter.
Inspect and clean gutters and downspouts
Winter cottage damage often starts with clogged gutters. You need to clean out leaves, twigs, and debris from gutters and make sure downspouts direct water away from your foundation. The full picture should include checking for loose joints, cracks, or sagging sections that need repair. Ice dams can form in neglected gutters and cause water damage to your roof and interior.
Check the roof for damage or weak spots
Your roof needs to handle months of snow, so a careful inspection is vital. Replace any missing, broken, or damaged shingles right away. Watch areas around vents and seams where expansion and contraction affect your roof’s integrity. The inspection should cover flashing, caulking, and other roofing parts for signs.
Store or secure outdoor furniture and tools
Store outdoor furniture, grills, picnic tables, hammocks, and other items inside if you can. Large items that won’t fit indoors need weatherproof covers designed for outdoor furniture. Note that cushions should go in waterproof containers to stop mold and mildew growth.
Seal and Protect the Structure
Your cottage’s proper sealing can reduce heating and cooling costs by more than 20%. Closing up for winter might look easy. Small cracks and gaps can waste energy and lead to moisture damage if you miss them.
Seal windows and doors to prevent drafts
Windows and doors waste the most heat in cottages. Start by looking at all frames for visible gaps, cracks, or spots where daylight peeks through. Quality caulk works best for small gaps (¼ inch or less). Larger openings need spray foam. The bottom of doors needs extra attention because cold air sneaks in there most often.
Install weather stripping and caulking
Weather stripping comes in several types that work for different spots. V-strips or tension seals create good barriers for moving parts like door edges and window sashes. Foam tape handles irregular gaps well. Clean and dry surfaces make weather stripping stick better. Silicone-based caulk lasts longer outside and stays flexible. Latex or acrylic types work better inside.
Check for air leaks and patch them
Air leaks hide in surprising places. Here’s how to find these energy-wasters:
- Watch the smoke movement from the incense near possible leak spots
- Run a damp hand around outlets, fixtures, and frames to feel drafts
- Try slipping a dollar bill in closed windows/doors – it shouldn’t slide easily
Fix any leaks you find right away. Electrical outlets on exterior walls let in 2-5% of outside air. Look for gaps where plumbing pipes, cables, and vents go through walls, too.
Add insulation to the attic and crawl spaces
Heat naturally rises and escapes through poorly insulated spaces above. Add extra insulation to attic floors in unfinished spaces. Insulate walls and ceiling if the attic is finished. Fix moisture problems in crawl spaces first and take out damaged insulation. Put a vapor barrier on the floor before adding new insulation. This stops ground moisture from damaging the structure or growing mold.
A note about these weatherizing steps – sealing too tightly might trap indoor pollutants. You might need to review your ventilation needs.
Winterizing a Cottage Water System and Appliances
Water damage from frozen pipes can be devastating, with claims typically going over $10,000. So, winterizing your cottage’s water system should be your top priority during seasonal shutdown.
Shut off the main water supply and drain pipes
Start by turning off the main water valve and your water pump’s power. Let gravity do its work by opening all faucets throughout your cottage. You’ll need an air compressor set to 30 psi to blow out any remaining water for a complete evacuation. The highest-elevation faucet needs to be open to break the vacuum in the pipes.
Use RV antifreeze in toilets and drains
Make sure you only use propylene glycol antifreeze – it’s the non-toxic kind labeled as RV or plumbing antifreeze. Here’s what you need:
- Two liters for larger toilets (covering 1″ above the toilet trap’s weir)
- Half to one liter in your empty toilet tank to protect the rubber seals
- One cup in each sink and tub drain
Drain water heater and appliances
Your water heater’s power needs to be off. Let it cool down, close the inlet valve, and drain the tank completely. Keep one hot water faucet open to let air in. Your dishwasher needs a rinse cycle after system drainage. Empty washing machines by disconnecting their supply hoses and running a drain cycle.
Insulate exposed pipes
Foam pipe insulation should wrap around vulnerable pipes, particularly in unheated areas. Heat tape might be worth looking into for extremely cold areas – it’s an electrical solution that keeps pipes warm.
Unplug electronics and turn off HVAC if needed
All electronics should be unplugged to avoid fire hazards and save energy. The furnace can be turned off after plumbing winterization if you’re closing the cabin completely. If not, set your heating system to about 12°C to balance costs with pipe protection.
Security and Final Checks Before Leaving
Protecting your vacant cottage from intruders is just as significant as preventing winter damage. A few smart steps will keep your property safe during the off-season.
Set up security cameras or timers
Smart lighting systems with timers make it look like someone’s home. You should program lights to switch on and off at different times instead of keeping them on all the time. Security cameras let you watch your property remotely, which helps when no one’s there for long periods.
Forward mail and notify neighbors
Piled-up mail tells potential intruders your cottage is empty. You need to forward your mail or ask trusted neighbors to pick it up. Building relationships with year-round neighbors is a great way to get extra security—share your contact details and maybe a spare key for emergencies.
Set traps to prevent pests
Mice, cluster flies, and Asian lady beetles often move into empty cottages during winter. Set mouse traps around your property and remove all food sources. Seal any cracks and gaps with caulk to stop them from getting in.
Take valuables with you
Don’t leave electronics, jewelry, alcohol, or medications at the cottage since these items attract thieves. You might want to leave the curtains open to show there’s nothing worth stealing.
Label systems as winterized
Take photos before you leave for insurance purposes in case someone breaks in or damages occur. Perform a final walkthrough to ensure you haven’t missed anything.
Conclusion
Winterizing your cottage will save you time and money in the long run. This piece covers everything you need to protect your investment from winter damage that could be devastating. Your cottage stays safe in the off-season when you prepare the exterior, seal the structure, winterize the water system, and put security measures in place.
Small details like clearing gutters or sealing tiny gaps can prevent big problems later. The process might look overwhelming at first. Breaking it down into smaller tasks makes winterization easy and doable for most cottage owners.
Making your own checklist based on your cottage’s specific needs will help you track everything year after year. Many owners find it useful to take photos or videos during winterization as a reference for future seasons.
Your retreat stays protected until spring when you winterize it right. You won’t have to worry about burst pipes or structural damage during the winter months. You can relax knowing you’ve taken all precautions. Opening your cottage in spring will be simple and problem-free instead of getting pricey with winter damage repairs. Your future self will definitely thank you.