Log Cabin Construction Checklist: From Foundation to Finish
A log cabin typically takes 11 months to build. Our construction checklist shows this timeline varies from six months to two years. The process opens up exciting possibilities with 11 different styles to pick from, but needs detailed planning at every step.
Building a log home from scratch might seem daunting at first. The process needs careful attention – from getting permits and site preparation to setting up utilities that cost over $20,000. We created this detailed walkthrough to guide you through each phase of making your cabin. Our step-by-step approach covers everything from breaking ground to moving in. You’ll find all the essential details to complete your construction project successfully.
Preparing the Land and Foundation
“Building up instead of out—higher floors vs. larger square footage—can lower your overall cost of utilities and foundation prices.” — Angi Editorial Team, Angi (formerly Angie’s List), Home Improvement Authority
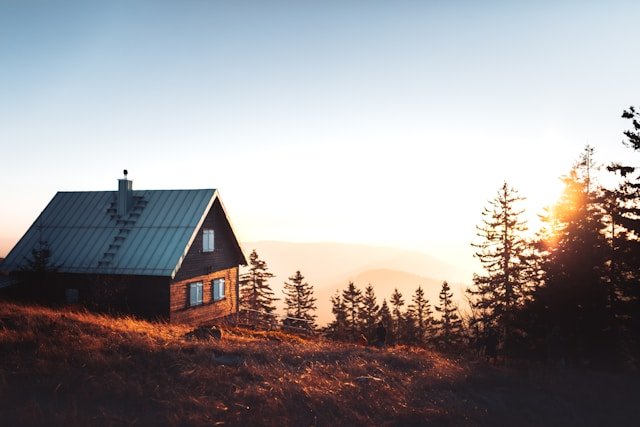
Your log cabin construction checklist starts with the foundation phase – a vital first step in building a log home from scratch. A well-prepared plot of land creates the foundation for a stable, lasting structure that will stand strong for generations.
Site clearing and excavation basics
A surveyor and builder should review your property before you break ground on your dream cabin. The building department’s consultations are a great way to get guidance early in the process. Here’s a golden rule for cabin building: never begin digging until you’ve received all necessary approvals. Your project could face substantial delays if you skip this step.
After securing approvals, you can start clearing the site. This involves:
- Removing trees and brush from the building site
- Stripping and storing topsoil for later use
- Excavating the basement area (if applicable)
- Creating a level surface for your foundation
Your foundation choice depends largely on the terrain and site conditions. The decision is shaped by climate, geography, water tables, topography, soil properties, local code requirements, personal preference, and budget. A soil test is essential to determine if the ground can support your structure properly.
Most American log cabins use some form of concrete foundation—either poured, block, or precast. Common foundation types include:
- Concrete slab – A flat concrete pad installed on a graded lot, requiring a vapor barrier between wet soil and concrete
- Pier foundation – Concrete cylindrical columns placed in the ground to support and elevate the cabin
- Crawlspace – Similar to pier foundations but with a 3-4 foot perimeter wall, ideal for sites with solid soil bases and no water-logging
- Basement – Typically dug about eight feet deep and placed atop a concrete slab, providing additional living space but costs more
Screw pile foundations might work best in areas with hard-to-dig terrain or where you want to minimize environmental effects.
Installing septic, well, and temporary utilities
Early utility installation helps save time and money. You can avoid damaging your yard later by coordinating excavation work when bringing in heavy equipment.
You’ll need either a connection to local sewer lines or a septic system for waste management. Septic systems typically include a tank and perforated pipes that carry wastewater into a drainage field. The cost ranges from $3,000 to $50,000 based on soil type and local regulations. Licensed contractors must install these systems in most areas since geology and soil conditions heavily influence septic efficiency.
Water access matters just as much. Drilling a well is usually your most reliable option when municipal water isn’t available. Well drilling costs vary from $15-$50 per foot depending on conditions. Make sure underground water exists and get multiple estimates from well-drilling companies before buying property.
Alternative water sources include:
- Pumping from a stream, spring, pond, or lake
- Rainwater collection using gutters and storage barrels
- Hauling water in large containers (least convenient option)
Construction requires temporary electrical service. This means getting permits, working with power companies to design distribution systems, and having professional installation and inspection. Place temporary power poles where they can best support construction equipment and trailers.
Remember to rent portable toilets – they cost just a few dollars daily. While utility trenches are open, install phone lines, cable, and fiber-optic connections. This prevents extra digging later in your building process.
Framing and Building the Log Structure
“Our installation crews are experts at installing the log home shell and handling any tricky building challenges that may arise during the process.” — eLoghomes, Log Home Manufacturer and Builder
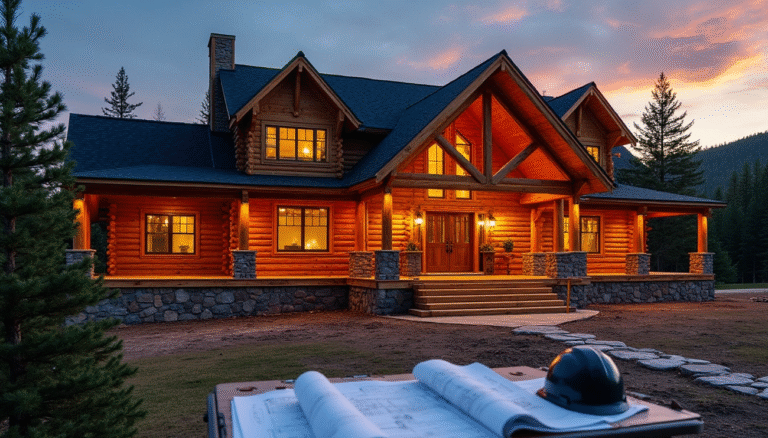
Framing work forms the foundation of your log cabin construction checklist. This stage brings your dream home to life. The flat concrete surfaces transform into a three-dimensional structure that captures the rustic charm people love about log homes.
Laying the subfloor and sill plates
The next step after completing your foundation starts with installing the sill sealer, termite shield, and pressure-treated sill plates. These plates need anchor bolts to attach them to your foundation wall or concrete slab. This creates a solid base for your floor system. Your foundation blueprint will tell you the exact dimensions of floor joists, including their size and spacing.
Floor joists come next, arranged according to blueprint specifications. These joists run between box sills and center girders to support the subfloor. Some areas need extra strength – like stair openings, wall partitions, and bathtubs. Double joists work best here. Metal or wood bridging between joists stops unwanted floor movement.
A typical subfloor uses 3/4-inch thick tongue and groove plywood in 4×8-foot sheets. This layer makes the floor stiff and gives you a surface to work on during construction. The subfloor should be flush and square with the joist frame. Nail or screw and glue it to the joists based on what the manufacturer recommends.
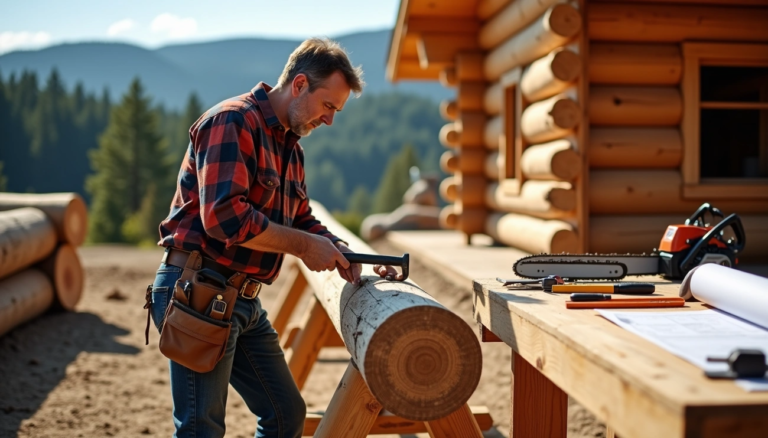
Stacking log walls and installing insulation
The subfloor completion lets you start stacking logs for walls. You have several options for this vital phase:
- Full scribe method: Round logs stack horizontally and fit together perfectly with careful scribing. This needs minimal sealing.
- Notched method: Corner notches replace scribing, but each log join needs sealing.
- Butt and pass: A beginner-friendly method where long and short logs alternate. Rebar driven through holds them together.
Energy efficiency depends on good insulation. Logs provide some insulation (R-value for softwoods is approximately 1.41 per inch). You might need extra insulation based on your location. The best way to insulate depends on how you build. Full log walls need specialized gaskets between logs to keep wind and water out.
Framing the second floor and roof system
Second floor additions need careful planning. A full second floor makes sense if you have limited lot space. Building up instead of out costs less and uses fewer materials. Adding 800 square feet above a 1,200 square foot main level just needs more wood and labor.
Many builders use tongue and groove boards as the first floor ceiling for second floor subfloors. Joists above create space for mechanical, plumbing, and electrical runs. This space must fit waste lines for bathrooms with proper slope, usually using 3-inch PVC pipe.
The roof system comes last. You have several choices:
- Beam and purlin system: This uses exposed vertical beams and horizontal purlins. One-inch tongue and groove boards go on top, followed by felt paper and rigid insulation.
- Heavy timber rafter system: Like beam and purlin but only vertical members show. Rafters sit closer together.
- Pre-fabricated truss system: This option costs least. Factories build trusses to match engineering specs for your area’s load needs.
Your roof choice will affect both looks and budget. Think about what you like, what the structure needs, and your local weather when deciding.
Dry-In Phase: Making the Cabin Weatherproof
The dry-in phase stands as a crucial step in your log cabin construction checklist. This phase changes your structural framework into a shelter that resists weather. Your cabin’s longevity depends on executing this phase correctly.
Installing windows and exterior doors
Windows and doors create weak points in any log cabin. Experience shows that good installation looks better and prevents damage that can get pricey from moisture. My approach includes building a window buck—a stick-framed box attached to log walls. This lets logs move while keeping windows fixed. The box creates a flat surface to attach new windows instead of securing them to moving logs.
New installations need proper measurements. Take measurements of the rough opening after removing exterior trim. Your new window should match the jamb size to your log width. The rough opening needs some extra space than the window size to allow movement.
Door installation starts with level thresholds. A few millimeters off can throw doors out of line, especially double door sets. My method involves building the door frame on the ground first. I use a carpenter’s square and check the threshold with a level before final placement.
Adding roofing, flashing, and house wrap
Roofing material choice depends on durability, weight, and climate. Here are popular choices:
- Shingles: Light in weight, resist fire, come in many colors, and last up to 25 years
- Metal roofs: Last 50 years, keep weather out, and insulate well with proper installation
- Ceramic tiles: Add rustic charm but need stronger roof structures due to weight
Quality flashing becomes essential where roof meets log walls. A circular saw cuts a kerf (reglet) into logs at a 30-degree slope for drainage. This holds the counterflashing’s top part, which needs to overlap step flashings by 2 inches minimum. Deck attachments to log walls need flashing to stop water from seeping and causing rot.
House wrap works differently than most think. Vapor-permeable house wrap won’t trap moisture between logs. The wrap creates an air barrier and lets moisture move both ways. Taped house wrap on log cabins’ exterior works as an air barrier. This method lets the wood breathe naturally.
Interior Systems and Utilities
The interior systems phase turns your weathertight log shell into a functional living space. Log cabins need specialized techniques and careful planning for utility installation. This approach differs from conventional homes and helps protect the structure’s integrity and beauty.
Running electrical and plumbing lines
Building a log home from scratch requires detailed electrical layout planning. Log walls are solid, so wiring for outlets, switches, and fixtures usually runs below floor level through pre-drilled channels. A licensed electrician should draft a detailed plan before log assembly starts. The floor needs marking for vertical drilling through each log course during stacking to create wire chases.
Second floor wiring needs a hollow interior wall that connects to the exterior for necessary wires. Timber roof systems need wire installation before completion. Staple the wires to roof decking before adding insulation. This preparation eliminates the need to hide wires later.
Log cabins create unique challenges for plumbing installation. Homes with interior framed walls allow pipes to run inside, just like standard construction. Log cabins with all-log interior walls need plumbers to build a chase-way—a boxed-out area. This space allows plumbing to run between floors. Bathrooms should be near each other or stacked between floors to reduce costs.
Installing HVAC systems and ductwork
Log cabins offer several HVAC options with distinct benefits:
- Forced Air Furnaces: These common units deliver warm air through floor registers. Efficiency ratings range from 78 AFUE to 98.6 AFUE.
- High Velocity Forced Air: These systems use ultra-quiet, two-inch insulated tubes that fit almost anywhere. They deliver air at higher velocities for improved comfort.
- Radiant Heat: In-floor units provide exceptional comfort and energy efficiency. Heat stays at floor level, which reduces heat loss.
- Geothermal Heat Pumps: These systems use earth as a heat source in winter and heat sink in summer. They deliver endless, energy-efficient climate control.
Installation matches conventional homes, with ducting throughout each room and level. Space limits in log cabins often need creative solutions to hide ductwork. Builders use chases through closets or create faux posts and beams. Window seats or built-in features can hide mechanical systems.
Open-concept designs have fewer interior walls. Small-duct high-velocity systems need one-third the space of traditional HVAC. These flexible ducts fit in tight spaces, and their outlets blend naturally with wood interiors.
Final Touches and Inspections
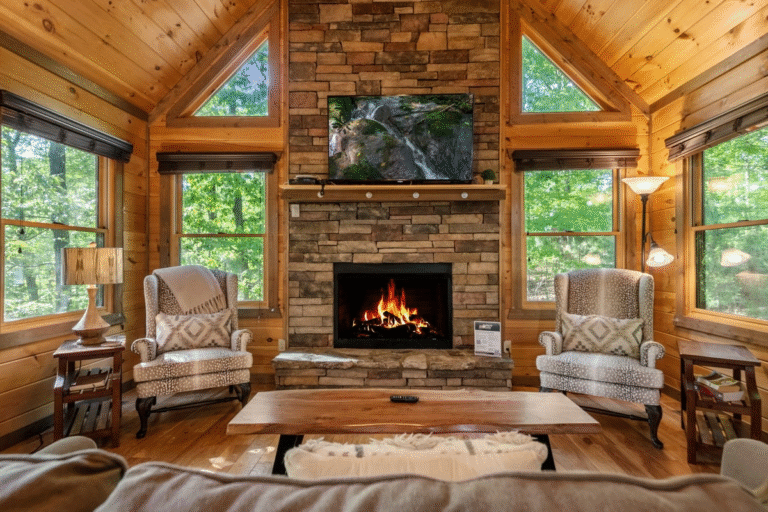
Your log cabin’s final construction phase turns a basic structure into a cozy, tailored home ready for you to move in. This exciting stage blends design choices with essential compliance needs to create a beautiful cabin that meets all official requirements.
Interior walls, flooring, and trim
Log walls aren’t your only option for interior surfaces. Knotty pine paneling adds character with its natural knots and mineral streaks. The panels come in standard sizes with tongue-and-groove edges that make installation straightforward. You might prefer weathered or distressed pine for an extra rustic feel. Beadboard works great as a partial wall covering topped with chair rail molding.
Your choice of flooring will substantially change your cabin’s appearance and usability. Most people choose hardwood, which costs between $6-$12 per square foot based on the wood type. You could also pick porcelain tile (up to $30 per square foot), ceramic tile ($2-$15), or vinyl plank flooring ($1-$10). Vinyl stands out for its resistance to moisture.
Many log home builders provide specially milled trim pieces that work both inside and outside. The 2″x6″ D-trim serves perfectly around doors, windows, and as baseboards. Log walls need a kerf cut first to create a flat surface before you add caulking and install the trim.
Painting, cabinetry, and fixtures
Your space’s purpose should guide your interior stain choices. Light stains create an airy feel, while darker shades make rooms feel snug and intimate. A protective clear coat helps with cleaning and stops the logs from absorbing odors.
Log walls tend to soak up light, which makes lighting tricky. Track lighting works well with high ceilings. Wall fixtures should sit about five feet above the floor with eight-foot spacing between them. LED bulbs provide energy-efficient illumination. Remote-controlled feature lighting lets you adjust brightness, color, and direction easily.
Mounting cabinets on log walls requires “floating frames.” These frames use 2-by-4-inch furring strips attached to logs through slots that allow settling. Place these strips 16-20 inches apart behind cabinets, secure them through the slots, then cover with drywall before installing the cabinets.
Final inspection and occupancy permit
The completion of construction means it’s time to schedule required safety inspections. Your log home will need several inspections during construction, including checks of the foundation, framing, and final finishes. Building inspectors check code compliance and make sure settlement accommodations work properly for log walls, doors, windows, and stairs.
Success in all inspections earns you a certificate of occupancy that outlines your building’s approved uses. Building code section 109 requires this document after completing all necessary inspections. The application process takes about five business days before you can schedule final inspections.
Conclusion
Building a log cabin just needs close attention at every step – from picking the right foundation to getting final inspections done. The process usually takes 11 months. Good planning and execution will help your dream cabin stay strong for generations to come.
Success depends on giving equal importance to each phase. A solid foundation keeps the cabin from settling poorly, and proper log stacking prevents future structural issues. The right materials and methods protect your investment from weather damage, especially when drying in the cabin.
Log homes need special installation methods for utilities and interior systems. You should work with builders who know log cabin construction well. Their expertise helps avoid common mistakes and ensures your home’s safety requirements are met.
A full picture at completion confirms your cabin meets local building codes. Your certificate of occupancy gives you peace of mind that your perfect retreat is ready for you to enjoy.